
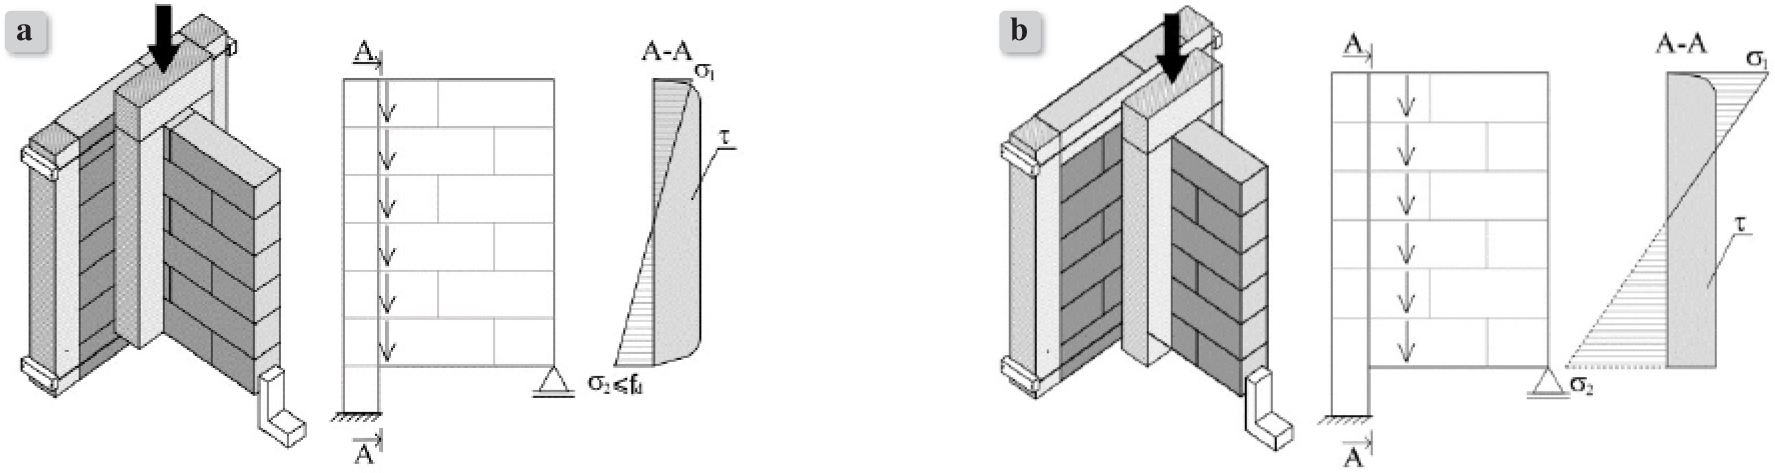
Figure 1.
Test scheme and distribution of normal and shear stresses at wall conection, a) unreinforced and reinforced shear stress before cracking, b) reinforced shear stress with bending after cracking
Table 1.
Assortment of connectors used for wall joints
| Name and photo | Notes |
|---|---|
punched flat profile 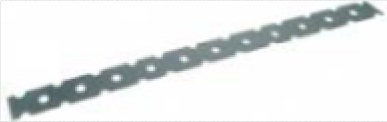 | Element used in joints of walls made of the units of the same height. Replaces masonry bond. Can be used with traditional or adhesive mortars. |
Winding flat profile 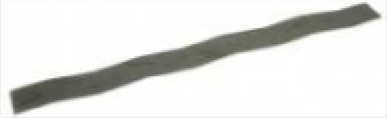 | Element replacing masonry bond in the walls with thin bed joints. |
Punched L-shape profile 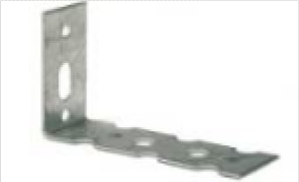 | Element for joints of masonry walls with reinforced concrete structure as well as for joints in walls made of the units of different heights. |
Two-arm L-shaped profile 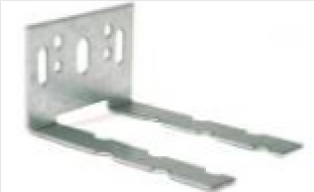 | Element for joints of masonry walls with reinforced concrete structure or existing masonry walls, as well as for joints in walls made of the units of different heights. |
Punched flat movement profile 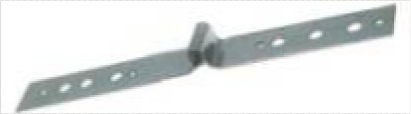 | Equivalent of the punched flat profile used in the locations where expansion joint must be introduced between the connected elements. |
Punched L-shape movement profile 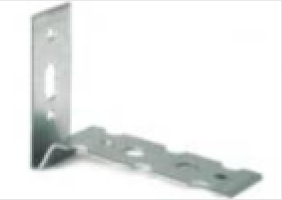 | Equivalent of the punched L-shape profile used in the locations where expansion joint must be introduced between the connected elements. |
Two-arm L-shaped movement profile 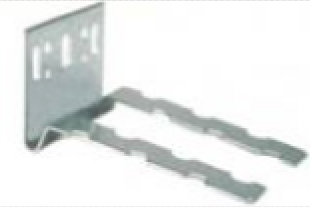 | Equivalent of the two-arm punched L-shape profile used in the locations where expansion joint must be introduced between the connected elements. |
truss 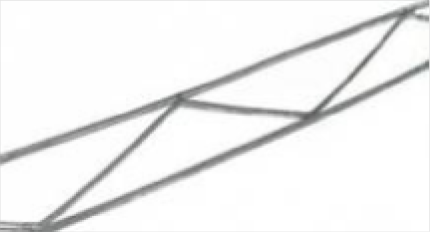 | Prefabricated reinforcing beams composed of two parallel flat profiles connected with the sine-shaped rod. |
Steel bars  | Bar of the appropriate length assembled in the previously drilled hole. |
Table 2.
Testing program
| Series name | Connection type | Photo of the connector | Number of research items in the series |
|---|---|---|---|
| bP | traditional masonry bond | - | 6 |
| bB10 | punched flat profile | 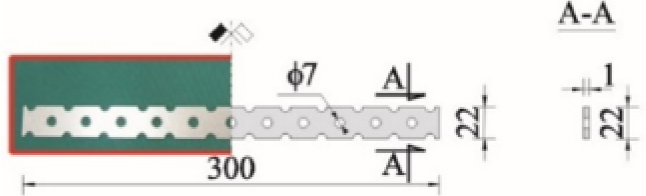 | 6 |
| bBP10 | widened punched flat profile | 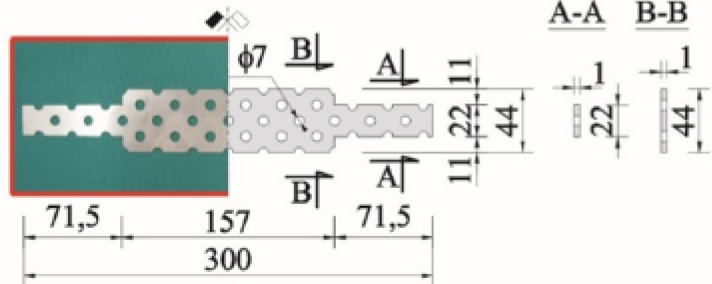 | 6 |
| bT | truss Murfor® EFS/Z 140 | 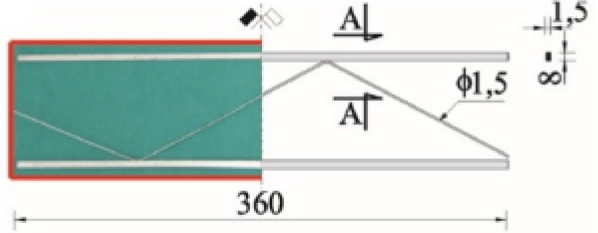 | 6 |
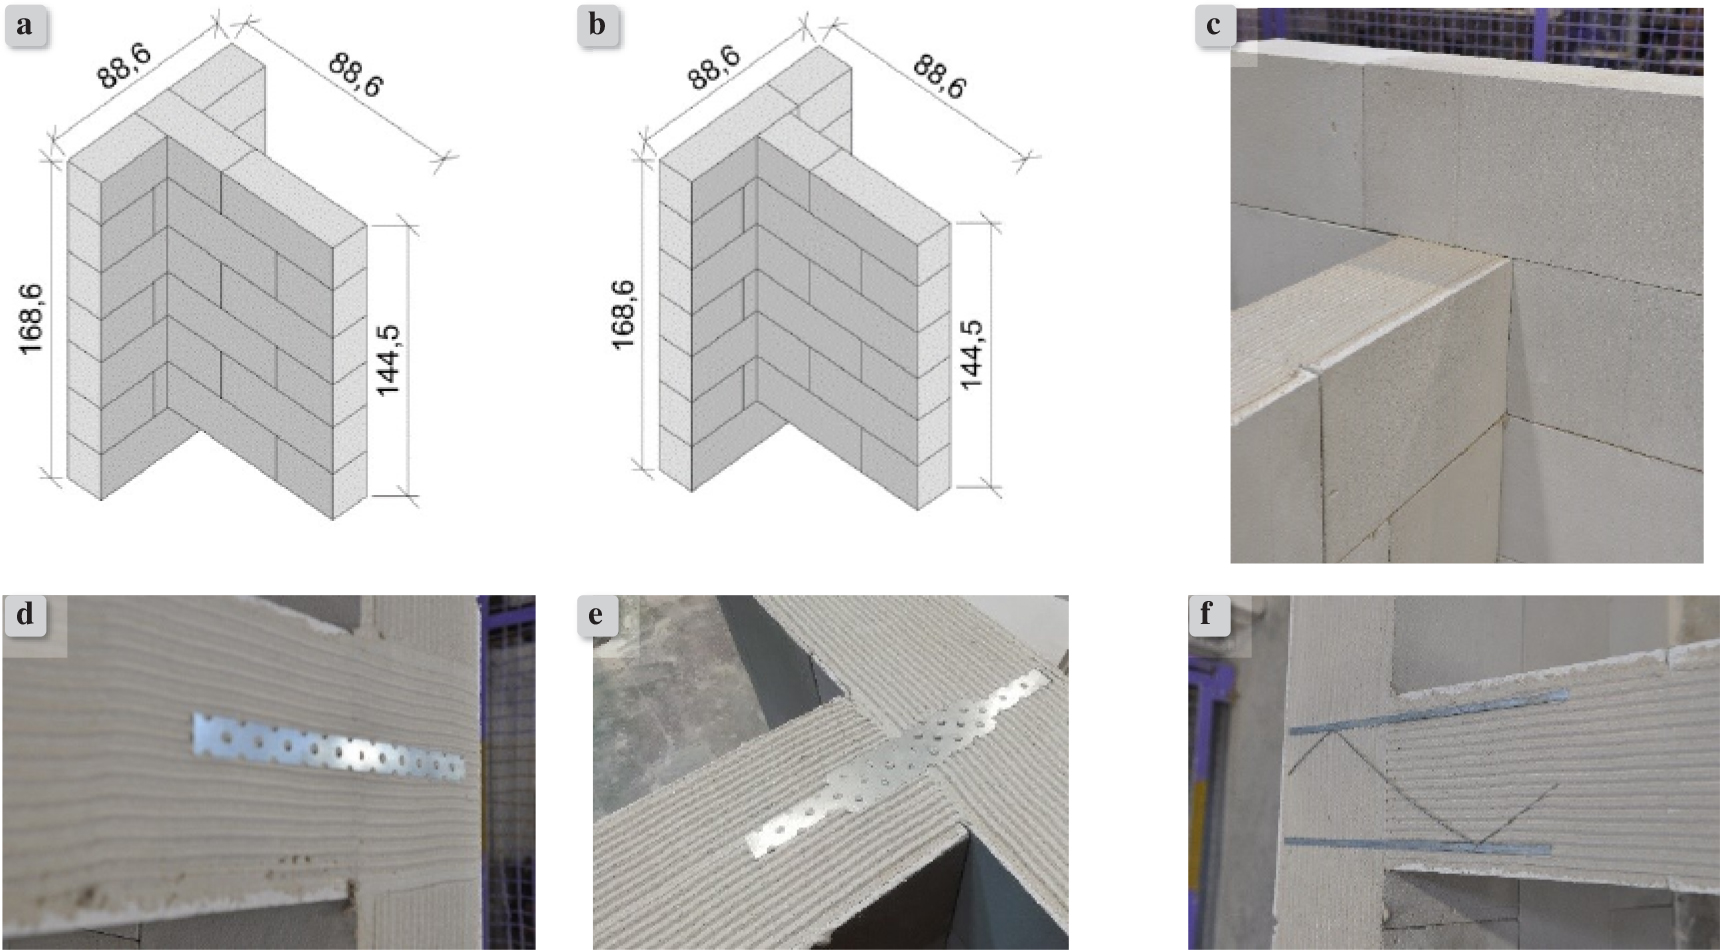
Figure 2.
Geometry and details of the research models: a) classical masonry bond (series bP), b) walls with steel connectors (series bB10, bBP10, bT), c) connection method using a classical bond (series bP), d) connection method using a perforated flat bar (series bB10), e) connection method using a widened perforated flat bar (series bBP10), f) connection using a steel truss (series bT) [dimensions given in cm]
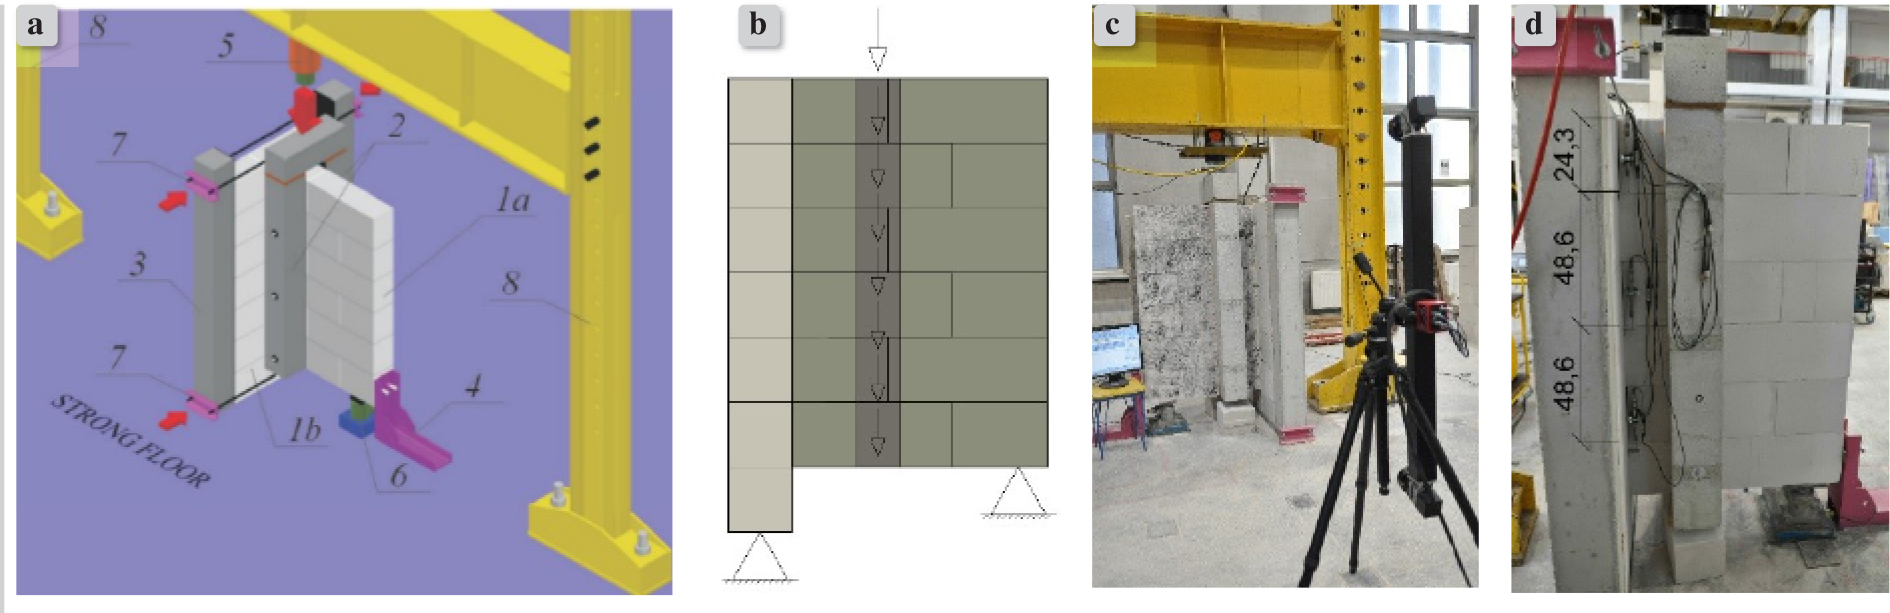
Figure 3.
View and details of the test setup: a) 1a - longitudinal wall, 1b - transverse wall, 2 - reinforced concrete column transferring the shear load, 3 - reinforced concrete pillars limiting the horizontal deformation, 4 - horizontal support, 5 - system of the hydraulic cylinder and the force gauge used to induce shear stress, 6 - force gauge, vertical reaction, 7 - horizontal tie, 8 - steel frame, b) diagram of the static scheme, c) test setup with a visible optical displacement recorder, d) inductive displacement transducers mounted on the test model
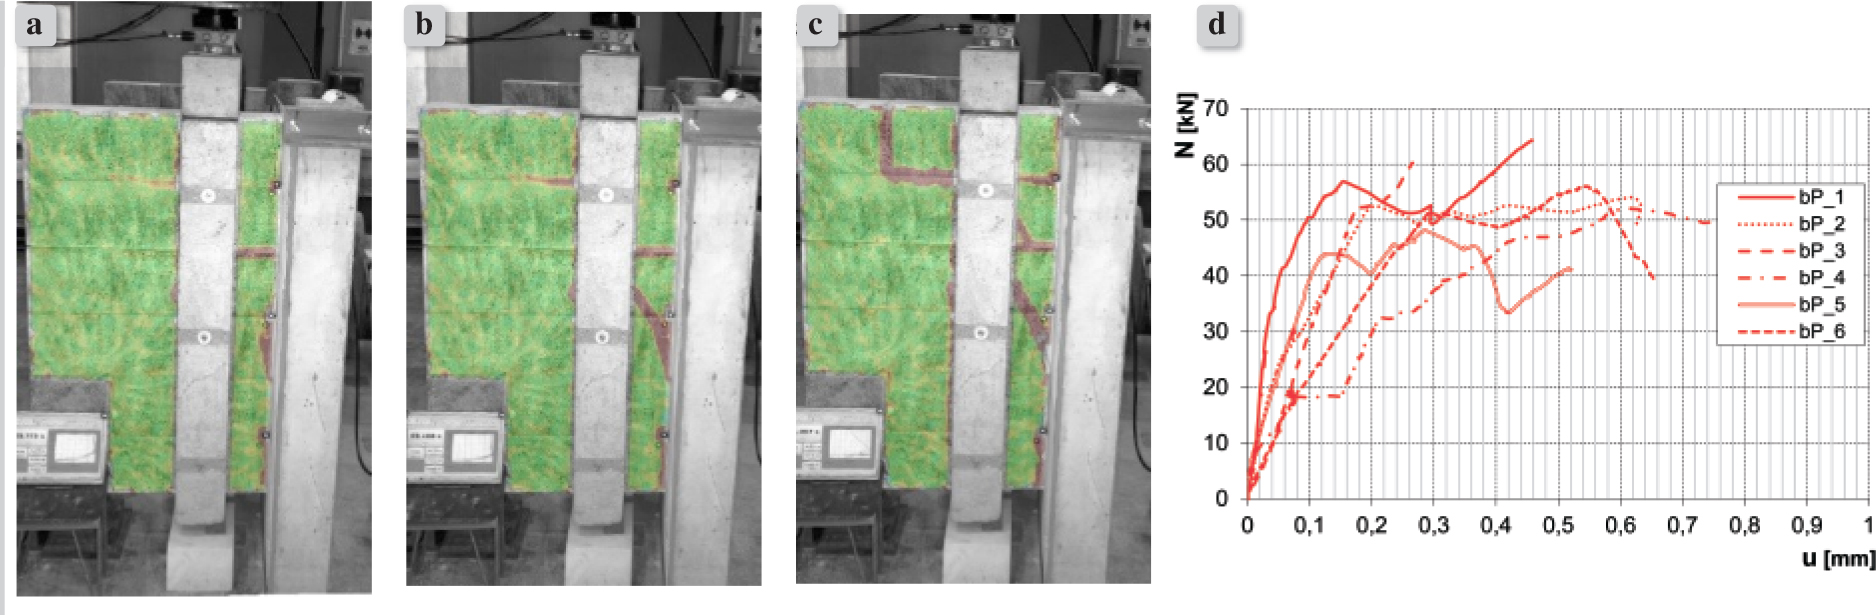
Figure 4.
Test results of reference masonry walls: a) initial cracking at the bed joint (bP_1), b) first diagonal cracks (bP_1), c) crack development in the final testing phase (bP_1), d) N-u relationship
Table 3.
Research results – forces and displacements
| Name of the tested element | Cracking force | Maximum force | Displacement at cracking | Displacement at maximum force | Comparis | ||||
|---|---|---|---|---|---|---|---|---|---|
| Ncr | Ncr,mv | Nmax | Nmax,mv | ucr | ucr,mv | umax | umax,mv | Nmax,mv(i)/Nmax,mv(bP) | |
| kN | kN | kN | kN | mm | mm | mm | mm | ||
| bP_1 | 56,5 | 47,1 | 64,2 | 55,6 | 0,15 | 0,18 | 0,45 | 0,46 | - |
| bP_2 | 49,6 | 53,9 | 0,16 | 0,62 | |||||
| bP_3 | 51,6 | 59,2 | 0,17 | 0,25 | |||||
| bP_4 | 30,8 | 52,1 | 0,20 | 0,61 | |||||
| bP_5 | 43,8 | 48,3 | 0,13 | 0,27 | |||||
| bP_6 | 50,3 | 55,9 | 0,28 | 0,54 | |||||
| bB10_1 | 5,4 | 6,4 | 9,9 | 9,0 | 2,10 | 3,77 | 9,90 | 9,00 | 0,16 |
| bB10_2 | 5,7 | 12,3 | 5,40 | 9,70 | |||||
| bB10_3 | 8,3 | 8,3 | 5,60 | 5,60 | |||||
| bB10_4 | 7,0 | 7,3 | 4,20 | 8,70 | |||||
| bB10_5 | 5,5 | 7,7 | 2,10 | 10,30 | |||||
| bB10_6 | 6,5 | 8,2 | 3,20 | 9,80 | |||||
| bBP10_1 | 5,6 | 7,9 | 16,4 | 17,8 | 1,10 | 1,88 | 4,50 | 6,62 | 0,32 |
| bBP10_2 | 5,3 | 14,2 | 1,30 | 8,30 | |||||
| bBP10_3 | 9,9 | 19,0 | 1,90 | 7,90 | |||||
| bBP10_4 | 9,7 | 21,5 | 1,70 | 5,80 | |||||
| bBP10_5 | 10,8 | 14,4 | 4,40 | 7,90 | |||||
| bBP10_6 | 6,1 | 21,2 | 0,90 | 5,30 | |||||
| bT_1 | 15,8 | 13,9 | 22,3 | 23,5 | 4,30 | 3,10 | 26,70 | 17,55 | 0,42 |
| bT_2 | 18,7 | 22,8 | 4,10 | 11,40 | |||||
| bT_3 | 20,2 | 22,1 | 4,70 | 16,90 | |||||
| bT_4 | 10,3 | 23,6 | 2,00 | 7,60 | |||||
| bT_5 | 8,5 | 27,9 | 1,60 | 16,00 | |||||
| bT_6 | 10,1 | 22,2 | 1,90 | 26,70 | |||||
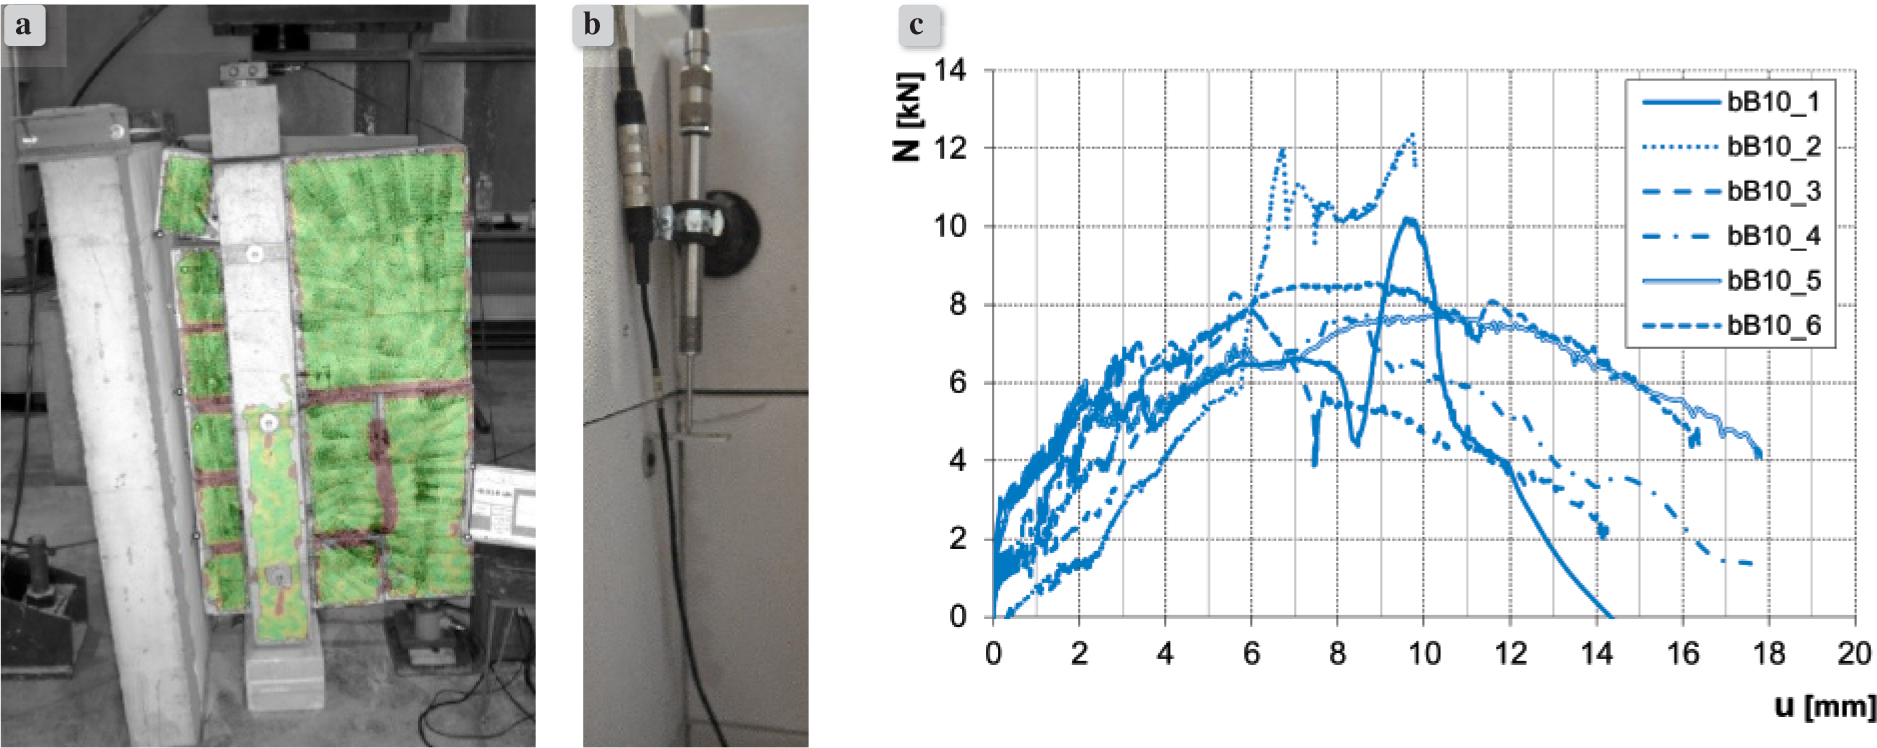
Figure 5.
Test results of masonry walls in series bB10: a) failure pattern of model bB10_1, b) displacement of the loaded wall relative to the unloaded wall (bB10_2), c) N-u relationship
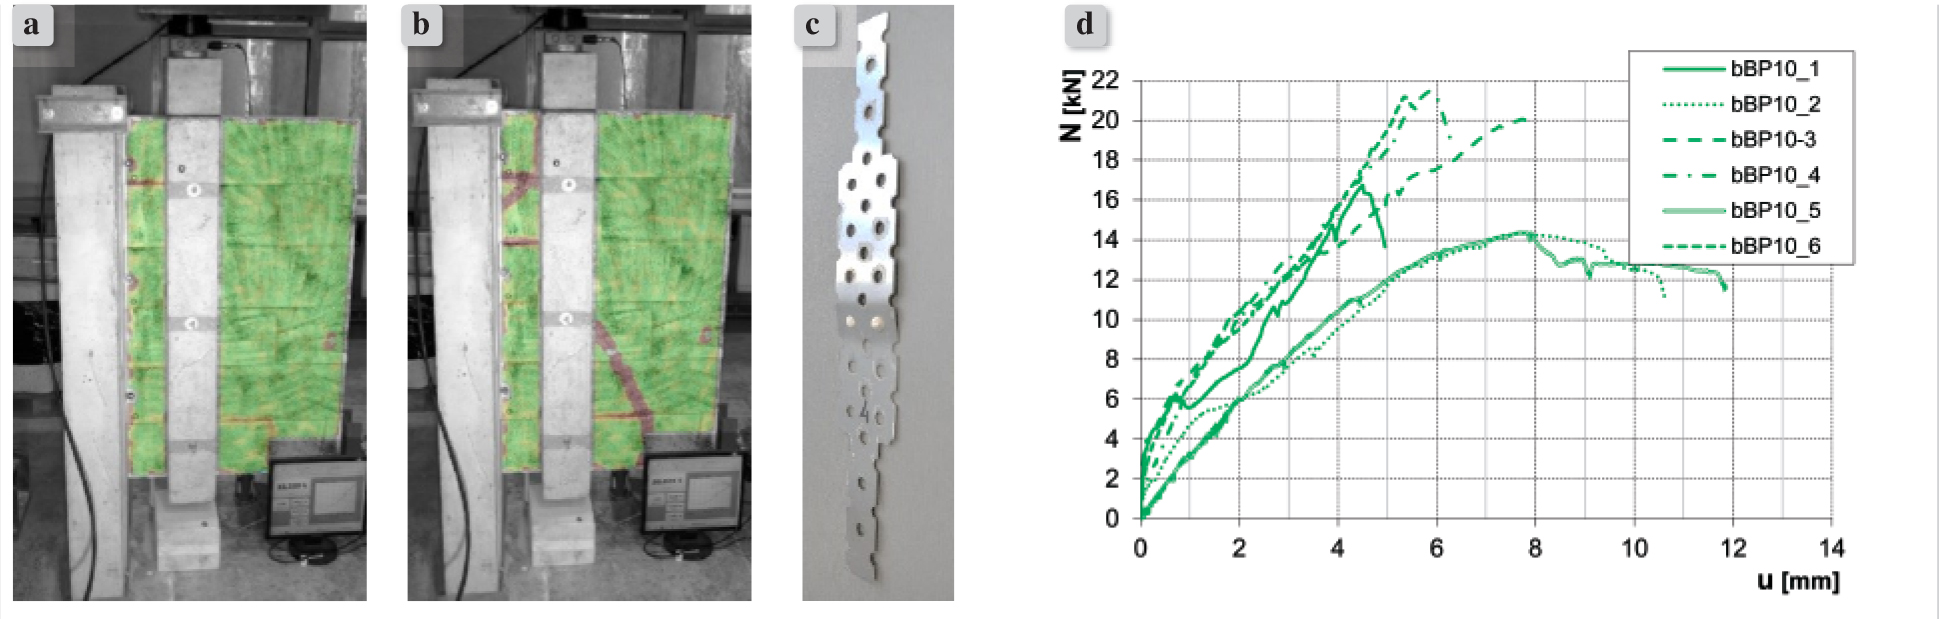
Figure 6.
Results of the wall tests for the bBP10 series: a) initial cracks in the bBP10_4 model, b) damage propagation in the bBP10_4 model, c) view of the connector after testing, d) N-u relationship
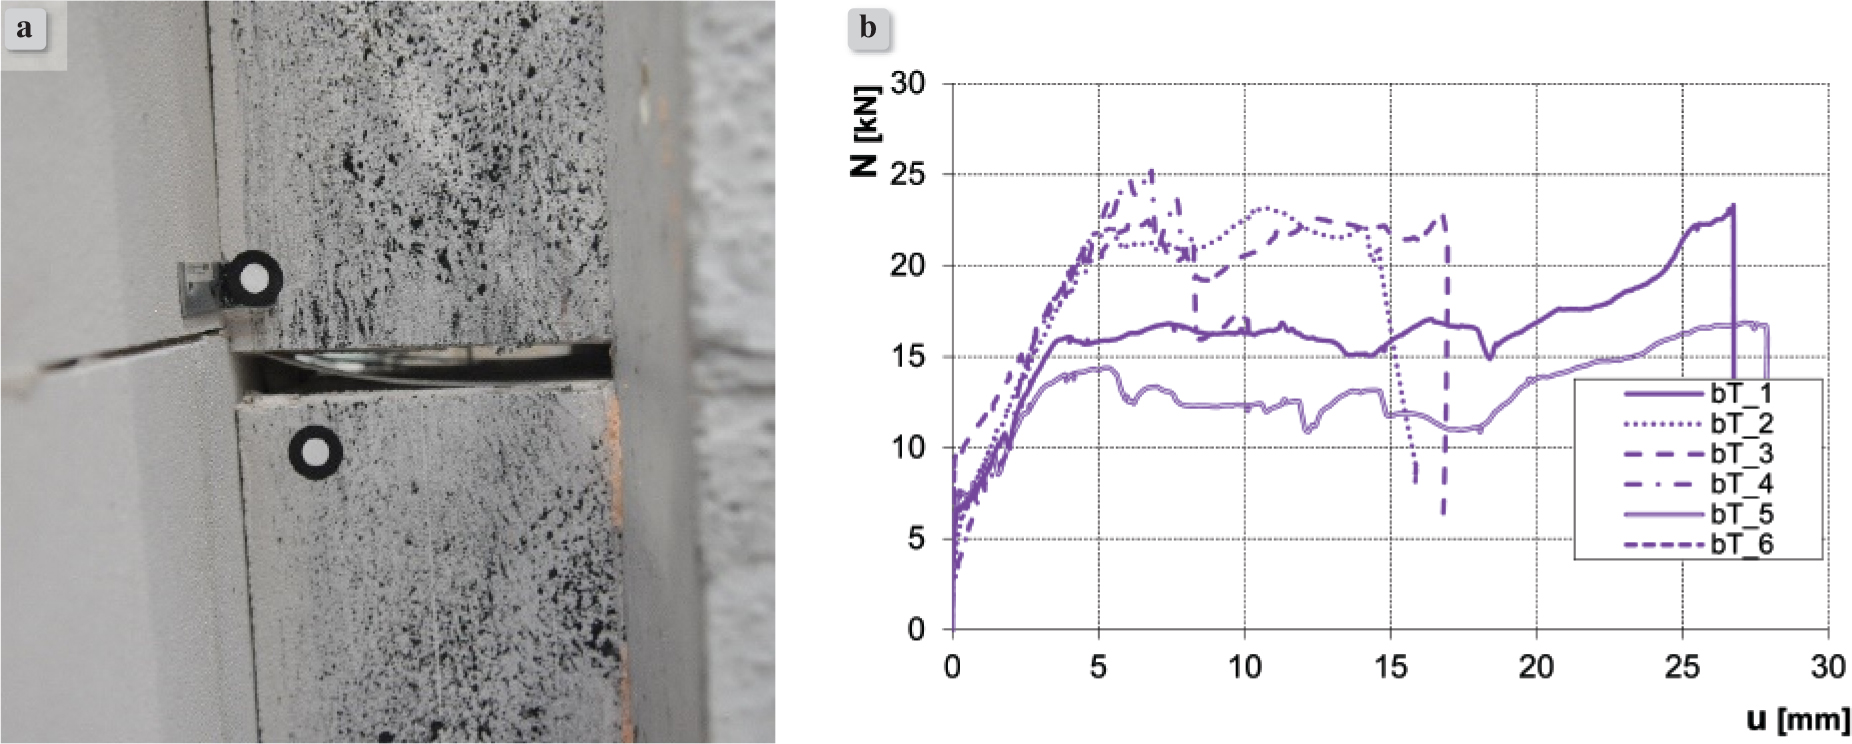
Figure 7.
Results of the wall tests for the bT series: a) delamination in the bed joint (bT_4), b) relationship between applied force and vertical relative displacement (N-u)