
Table 1.
Typical Gan Embroidery Techniques
| Name | Bada Shanren Ink Painting (Deer Picture) | Representative Work “The Horse and the Rider” | Representative Work “Eagle in an Empty Valley” |
|---|---|---|---|
| Artwork |
 1
1 |
 2
2 |
 3
3 |
| Description | Primarily employs floating stitches and flat stitches, using dozens of colors of ink silk threads with various thickness and shades. The artwork displays distinct layers, replicating the nuances of color and the profound artistic conception found in the original painting, enhancing its three-dimensionality. | Utilizes hairpin and scattered overlay stitches, employing silk threads to create a second reworking of the artwork, resulting in a simple and bold composition. | Utilizes the unique Gan Embroidery stitching techniques, along with dozens of silk thread colors with varying thickness and shades for a second reworking of the artwork. The artwork exhibits clear layers and accurately conveys color variations, evoking a natural and deep artistic ambiance. It possesses a natural, elegant, and refreshing aesthetic. |
Table 2.
Illustrations of Seed Stitch, Lock Stitch, and Random Stitch Techniques
| Type | Step 1 | Step 2 | Step 3 | Example |
|---|---|---|---|---|
| Seed Stitch |

First, start the needle, hold the thread with the left hand, and wrap the thread around the needle a couple of times. |

Insert the needle beside the starting point, on the right side of the upward thread. |

The left hand keeps the thread tight against the fabric, then pull out the needle to create a small dot. |

|
| Lock Stitch |

Start the needle at any point, beside the starting point, and create a thread loop on the fabric's surface. Then, start the needle, securing the loop. |

Drop the needle at the starting point of the second stitch to form a second ring, then start the needle to fasten the second ring; and so on. Embroider according to the pattern. | N/A |

|
| Random Stitch |

Arrange the specific stitches according to the shape of the embroidery pattern, and complete the first layer of stitches. |

On the basis of the first layer, use different colors of thread to perform overlapping stitches. | N/A |

|
Table 3.
Illustration of Overlay Stitch Techniques
| Type | Step 1 | Step 2 | Step 3 | Example |
|---|---|---|---|---|
| Single Overlay Stitch |

Begin by embroidering the center of the pattern. Proceed with the right half, alternating between long and short stitches, embroidering the right side. Once the right half is complete, embroider the left half. |

After completing the outermost layer, add a second layer with different color threads. Each stitch should align with the previous layer's long and short stitches. |

Create a third layer in a similar fashion using alternating long and short stitches to fill the pattern. |

|
| Double Overlay Stitch |

In the first batch, start the needle from the center and ensure even stitches on the pattern's edge. Maintain straight stitches with no slanting. The thickness of the stitches should be consistent, and the texture should be uniform. |

In the second batch, use a darker color than the first batch. Start the needle at the location where the first batch's stitches fall. The distance between stitches should match the thickness of the lines. |

In the third batch, start the needle at the location where the second batch's stitches fall. Alternate between long and short stitches and use even thicker thread to completely fill |
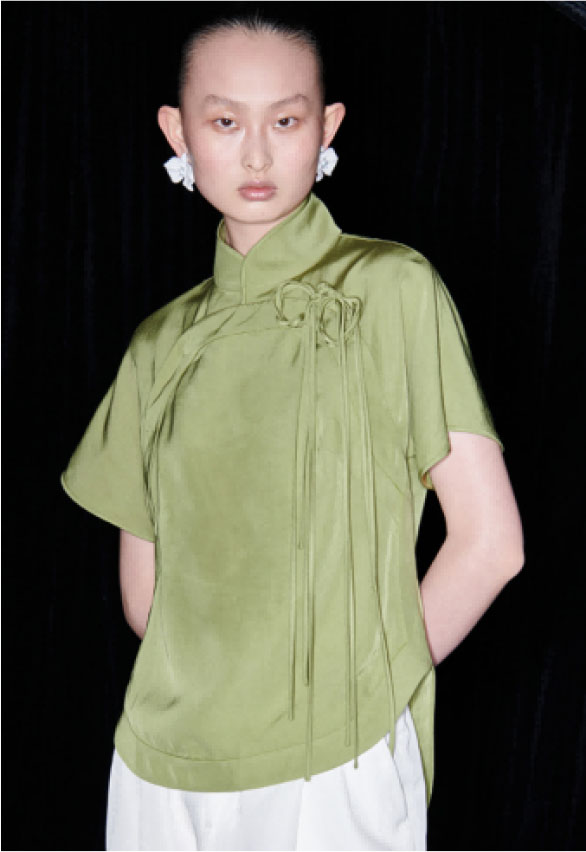
Fig. 1.
M essential’s Shirt1
http://www.360doc.com/content/23/0115/22/49854881_1063813878.shtml, 2024-06-29
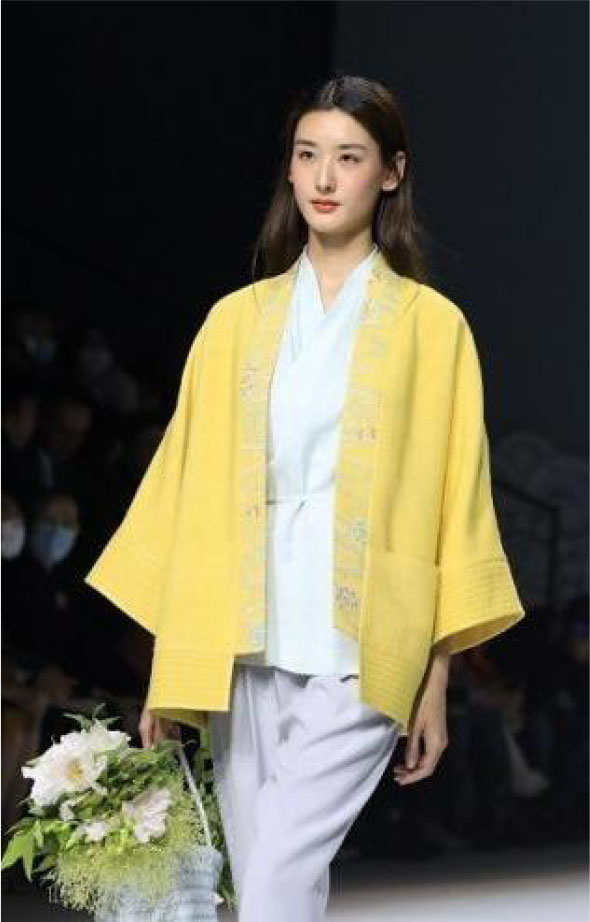
Fig. 2.
2021 Chu Heting Xiang “Wenchat” Series
https://baijiahao.baidu.com/s?id=1695369526300962631&wfr=spider&for=pc, 2024-06-29
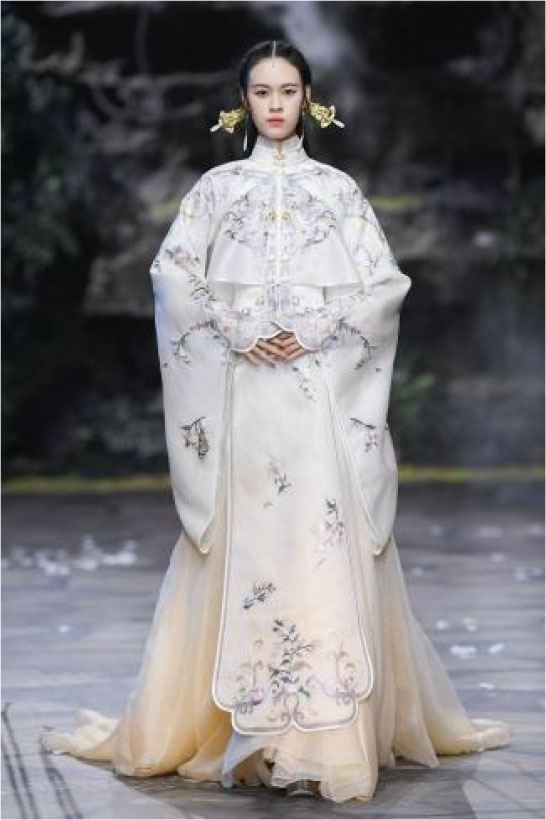
Fig. 3.
Gaiya Legend 2022 Spring/Summer Collection “Qiankun Fangyi”
https://m.hnmdtv.com/sy/092021_86644.html, 2024-06-29
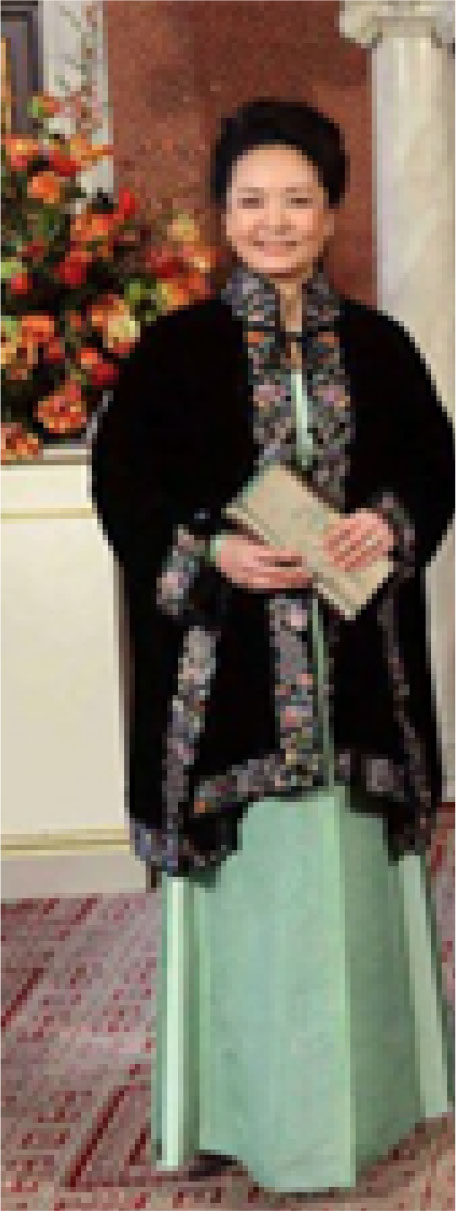
Fig. 5.
Stand-up Collar Cape and Modified Horse-Face Skirt
http://china.cnr.cn/xwwgf/201403/t20140323_515138885.shtml, 2024-06-29
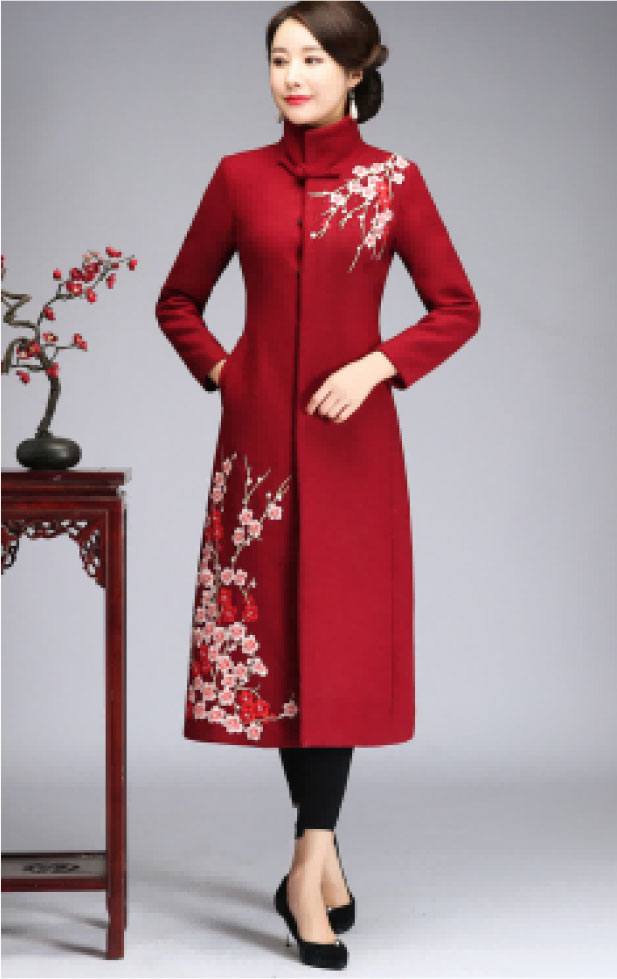
Fig. 6.
Shenyi New Neo-Chinese Woolen Coat
https://mms2.baidu.com/it/u=344190897,1878927431&fm=253&app=138&f=JPEGw=500&h=672, 2024-06-29
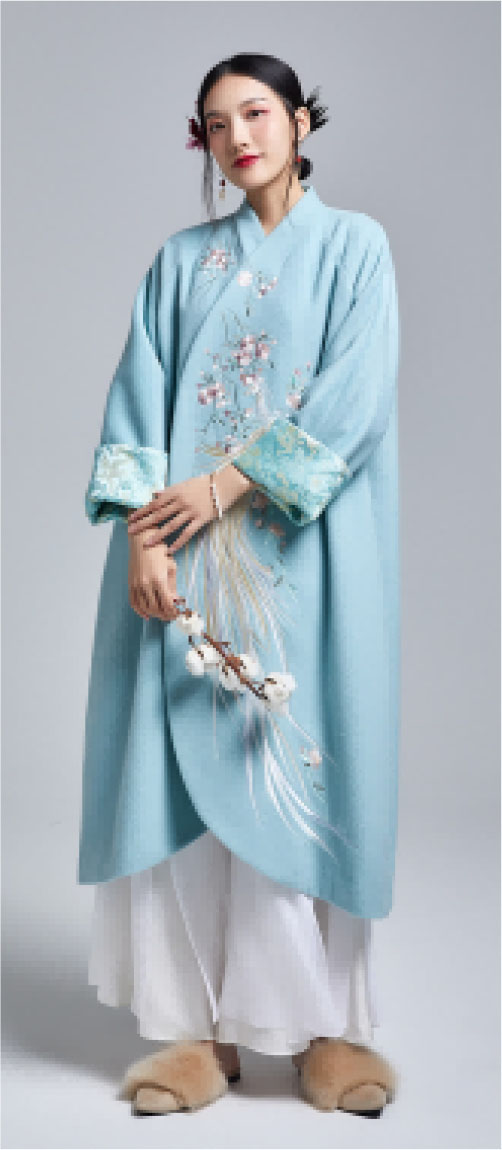
Fig. 7.
Moyu New Neo-Chinese Woolen Coat
https://mms0.baidu.com/it/u=2379786576,2897283807&fm=253&app=138&f=JPEGw=500&h=500, 2024-06-29
Table 4.
Examples of Individual Part Applications in this Study
| Sleeve Sections |

right lower sleeve and left sleeve cap |

sleeve elbow |

sleeve cap and sleeve bottom |

cuff |
| Collar Sections |

collar facing (lapel) |

collar body (lapel) |

collar body (stand collar) | |
| Garment Body Sections |

right front chest |

left and right front chests |

waist | |
| Lower hem placket parts |

lower right hem |

left and right lower hem |

upper right end placket |

right placket |
Table 5.
Examples of Multiple-Part Combinations in this Study
| Two-Part Combinations |

Sleeve and Garment Body |

Sleeve and Cuff |

Sleeve and Hem |

Front Closure and Cuff |

Front Closure and Sleeve |

Front Closure and Collar |

Garment Body and Hem |

Garment Body and Cuff |

Garment Body and Hem | ||||
| Multiple-Part Combinations |

Collar, Sleeve, and Hem |

Collar, Garment Body, and Cuff |

Collar, Front Closure, and Cuff |

Front Closure, Cuff, and Sleeve |

Front Closure, Sleeve, and Collar |

Front Closure, Cuff, and Hem |